Ian allowed me a day off on Thursday so we could battle out a 30YW battle - White Mountain. Not only could he fight over a battlefield he'd visited but could also enjoy the sight of me striving to beat Shakespeare's record of 86 pips and failing.
So the scenario was this - the Catholics (me) had the tougher forces but had to fight prepared positions uphill against the Protestants (generally poor but with some good units mixed in and prepared positions).
The twist was I only had 100 pips to use. We agreed later that this would be a great 3 way battle with 2 players on the Catholic side as the bidding for pips would reach fisticuffs level pretty quickly (especially as a) Russ would use all his pips regardless and b) Mark would nick pips from his ally and then waste them on Fancy Dan manouvres).
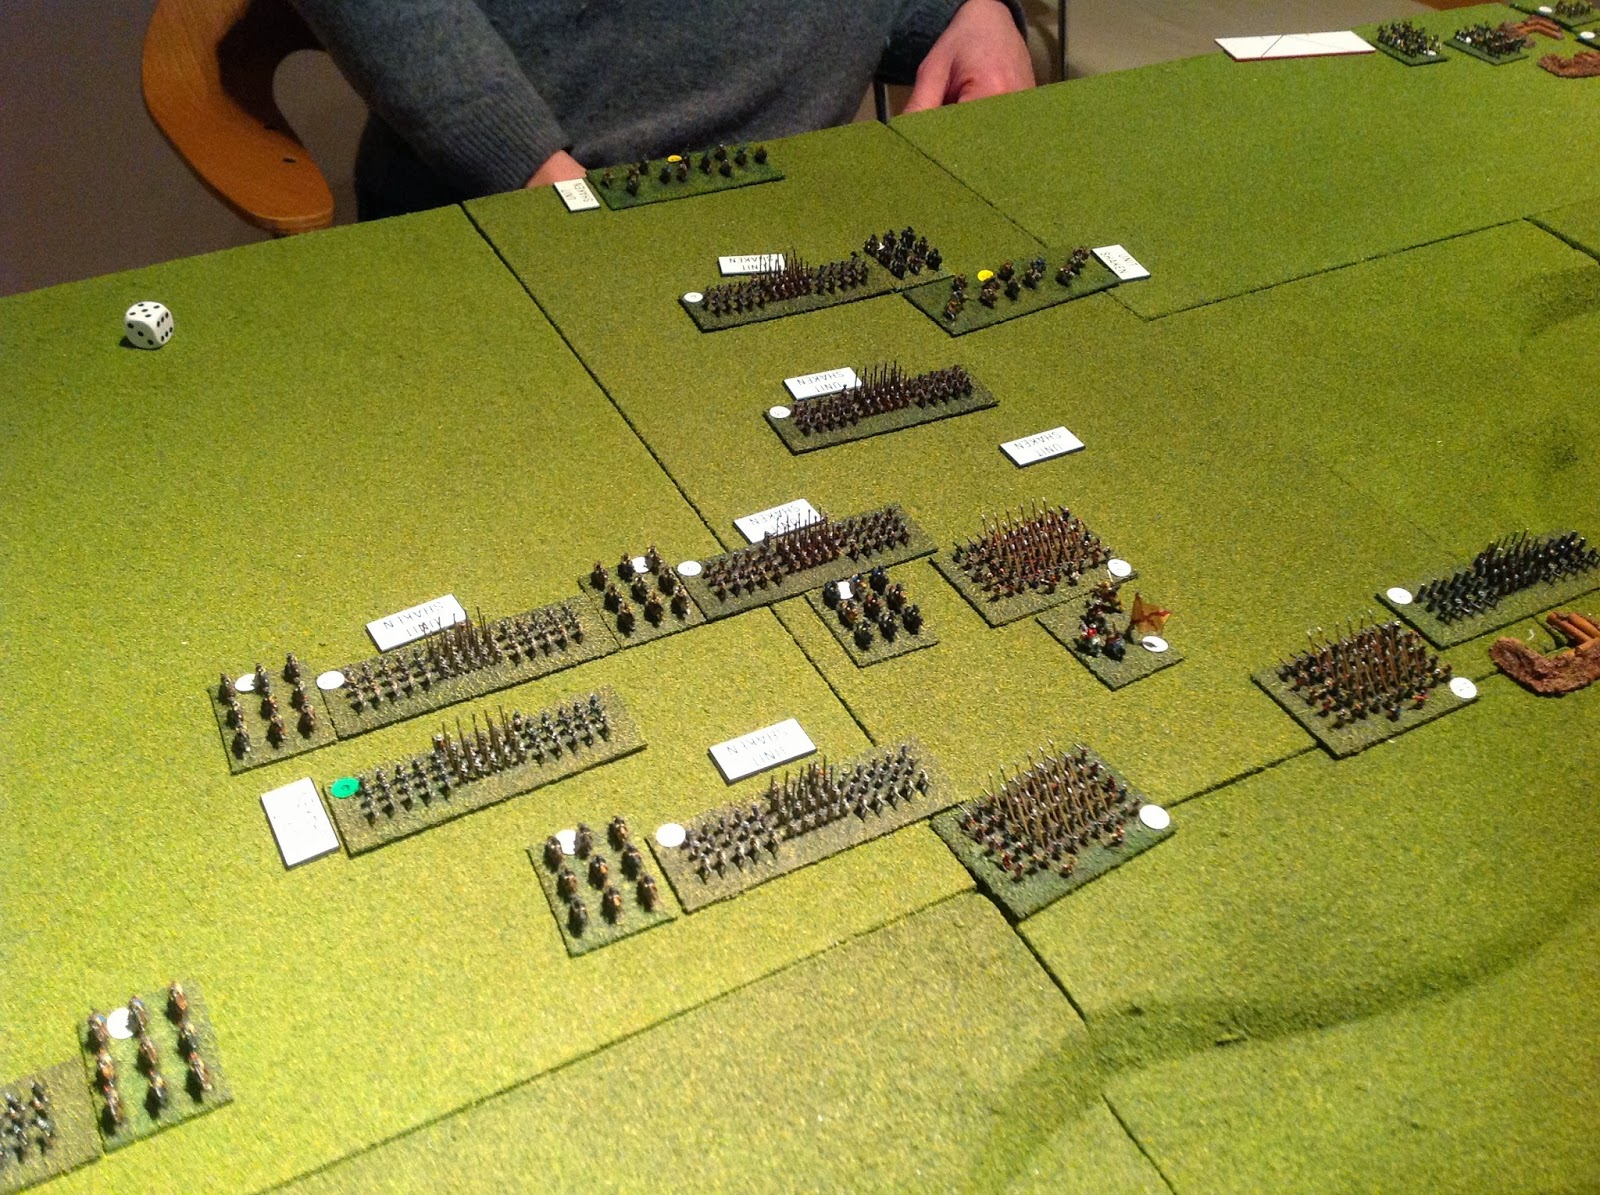
The battlefield you can see below. Straightforward except for that bloody stream which ate up 50% of my pips trying to get tercios across them.
 |
| The Protestant positions |
My plan was to bombard the Protestant guns into scrap metal and then plough my tercios in while the guns were silent. This required that I use Tilly's command pips to get the tercios and cavalry over (but out of shooting range) then - once the Protestant cannons were gone - to push the Catholics in on the left.
Ian's problem was only having one commander - who could be effective if he could stay in one place. I therefore had to stretch him using Bucquoy's command on the right.
 |
| Tilly's disposition |
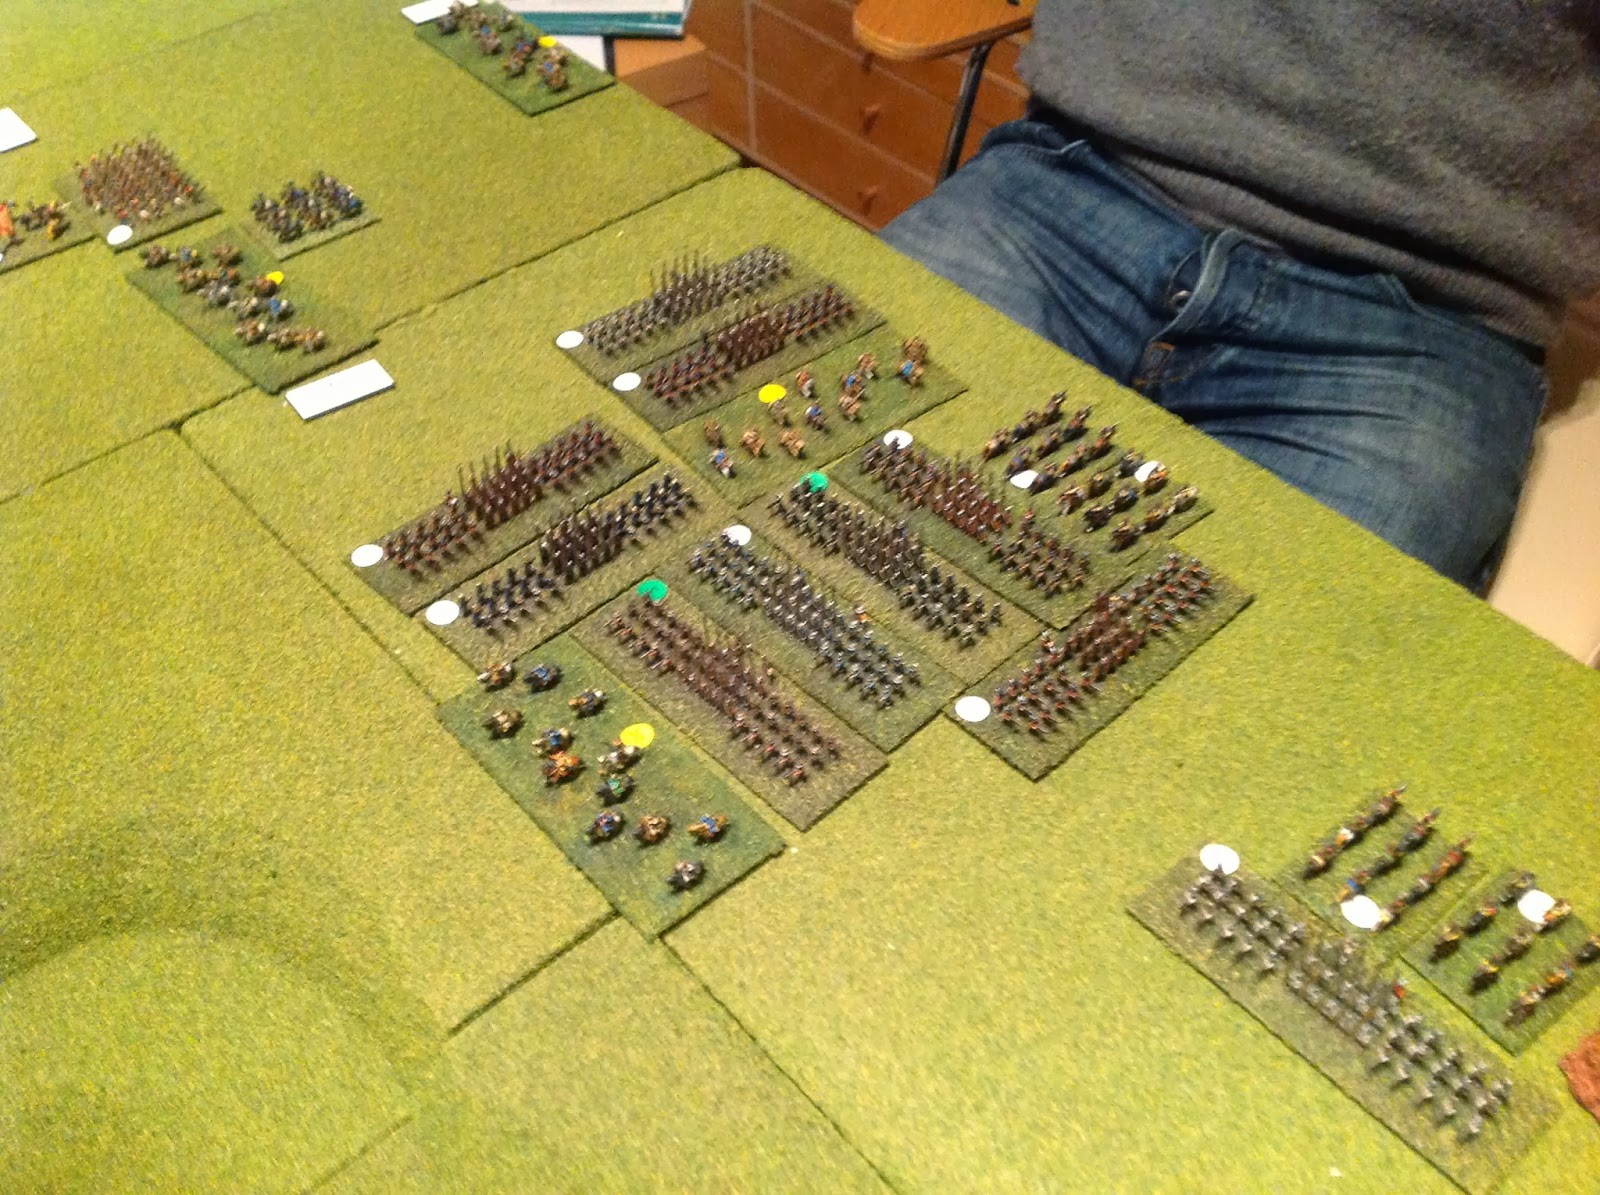
I moved the cannon to the river to blat the Protestant cannon facing them. The tercios lined up to their left and the cavalry on Polish cossacks next to them.
 |
| Bucquoy's disposition |
Bucquoy's cannon had more to shoot at initially so the plan was to get Bucqouy over the river and then be in a position to threaten.
The cannon therefore started banging away at each other - and Ian started rolling 6's and doing more damage to himself than I ever could). Shaken markers started springing up around his guns.
 |
| Tilly gets across the river - very, very slowly. |
Tilly therefore moved across the river and hopefully close to the Protestants when the guns were finally silenced. I also decided to move Bucquoy across to keep the Protestant commander on his toes. I also decided to move his cavalry to the left of his tercios to keep command and control in place and threaten the Protestant centre.
 |
| Bucquoy moves across |
Pips were disappearing at an alarming rate and I hadn't even crossed the river. But most of his artillery was Shaken (except for the pesky redoubt in the centre which was out of arc but Ian had given 45 degrees angle of fire - so he could shoot but not be shot at. It was to prove a real pain in the ass.
 |
| Ian moves troops across to counter Tilly |
With Shaken markers on his cannon, Ian moved his better troops over to plug the gap (which would be worse exposed should his guns give up the ghost). I employed the same tactic as Russ had (attach a general to a tercio and plough it in). Of course, this works until you roll 20's....
 |
| Hello Mr Bounce |
Which is what Bucquoy did almost straight away. As soon as he hit the redoubt on the right he rolled a bloody 19 and the tercio bounced. This would set the tone for the forthcoming battle - get into a good position, get all the odds in your favour - then roll badly. Oh! how I suffered!
 |
| Lets try killing the gun instead.. |
Bucquoy did manage to get one tercio in on the rightmost Protestant gun and managed to flatten its position in the process. Had both tercios got in and done the job, then Ian would have been in a bad way (lost of shaken markers and a commander stretched across the table). As it was, I didn't so he could take on the tercios piecemeal. I was soon taking big casualties on both sides.
 |
| Tilly buggers it up |
The same thing happened on the left - Tilly got into a good position, lined up for a charge then failed the roll (I think this was the first 20 on the bingo dice...). I was not amused. Still, I had managed to flatten 2 of his 3 artillery pieces. Snork!
Meanwhile Bucquoy was making a hash of clearing our right flank. He just wanted to bounce whenever it looked like we could get going. He finally managed to get into the redoubt but made very heavy going of it. Like bouncing when the enemy were shaken.
 |
| Just get stuck in you French bastard! |
 |
| Oh for Gawd's Sake! |
Tilly too was buggering things up - but he was at least over the crest of the hill and in touch with the enemy. He managed to Shake two units ahead of him but my Polish dickheads got in front of his cannon (therefore meaning I couldn't shoot my cannon at them) but couldn't charge them (needed to be Shaken) and failed to shoot them to be in a position to charge them. Bastards!
 |
| Don't you bloody start! |
I then made things much, much worse for myself by moving my cavalry into shooting range. The idea was to shoot the Protestant line up while there was a gap to exploit. As it was, I got shot myself and with cavalry on 4's and 5's pretty much half of them went Shaken. One rout would be catastrophic (morale checks all around). Sure enough that's what happened and I lost a few bases which meant -3 on future morale checks.
The good thing is, I'll never be that dumb again!
 |
| This is a monumental cock-up. Never repeat this. Ever |
As my cavalry ran for it - this left one tercio fighting on its own - and consequently getting whupped. But they did manage to shake the infantry facing them.
 |
| I bounce - again - against shaken troops. |
Tilly was still making heavy weather of the left wing as he kept delivering 18's and 19's. One was where anything other than an 19 / 20 would have seen them go in. Nope!
My cavalry were in a real mess and it didn't help that Ian popping at them with his forward gun kept on putting on morale checks - which
 |
| Good grief! |
wasn't good. I pretty much had to move the cavalry out of the way (using more precious pips) before I could do anything else.
And Tilly threw another 20 for good measure. I was pretty much back where I'd started but was battered and bruised wheras Ian's troops had nary a scratch on them.
 |
| Thanks for that! |
 |
| Oh come on! |
Tilly was bouncing back all along the line. The only good thing was that my battered units were now at the back and my strong ones at the front. But Shaken troops mean pips and I was fast running out. To add to my woes, the problem of attaching commanders (they can get shot) came on to haunt me. Bouquet (or whatever his name was) got shot - twice - and left my troops in a hole while his second-in-command took charge.
 |
| Cavalry out of dodge - but 2 tercios down. |
The right was a real mess - I'd lost 2 tercios (one to a fecking crap morale roll) so I decided to regroup, join two tercios together with the new commander and belt them through as a group (rather than individually).
After a lot of to-ing and fro-ing, Tilly once again pushed forward and for once didn't bounce. Ian's troops were pushed back and I mover the Poles to get some shots in on Ian's cannon (which he'd sneakily re-manned). I also managed to finally kill off the forward gun (which had thrown a host of 6's and so routed when a general morale test was called for when Ian finally lost a unit). It was suddenly looking a bit brighter but I felt I'd made a hash of things and it wasn't looking too rosy. I decided to attack the Star (which held two of Ian's units) which would prove tricky as I was downhill and trying to cross a wall.
 |
| Looking slightly better |
 |
| We pause to regroup. |
Regrouping on the right seemed to do the trick and I was finally in a position to push forward again. After a prolonged fight I managed to push Ian off the Star wall but lacked the strength and distance to push on. Not wanting to crawl over and take shots each time, I stayed behind it for the time being. I also managed to finally take the artillery redoubt. Ian then made a cock-up of his own - facing up to the Poles on the redoubt, he ignored the tercio to his right. I duly ploughed into his flank with all the attendant bonuses but failed to take advantage as much as I could (throwing the 50th 1 on a d6 for damage).
 |
| Ian's one mistake. |
I was down to my last few pips and was facing the very real possibility of losing! I therefore lined my tercios up for a concerted attack on my right - hoping that the punch they could bring would be decisive.
 |
| Kill them all! |
Tilly meanwhile was doing a bit of re-organisation himself and punishing Ian for the mistake with a cheeky flank attack. As mentioned, true to form it didn't go too well though and Ian charged me in turn - forcing me to back off. But it was to bring about a major consequence later...
 |
| Flank attack - Taylor is out-Taylored! |
We then got engrossed in the action - meaning I forgot to take photos for a bit. But the result of the action on the right is pretty evident. The tercios pushed Ian's troops back - causing involuntary interpenetrations all over the show and a forest of Shaken markers appeared. This was bad news as he only had one commander who had to come back to steady the ship (such as it was)
 |
| You can't hear me laughing on this picture - but I was. |
The result of all this was in the literally last knockings (where I was down to my last few pips) I decided to just charge what I could and hope for the best.
Ian prophetically remarked that at this stage I was technically losing as I'd lost more units than he had. Oh, how that comment turned to ash in his mouth.
Tilly threw in just one unit (the one that had been charged by Ian previously) back into the unit that had charged them. The inevitable happened - 20 on the Bingo dice, and a Rout result. This caused morale checks amongst all his units within 8" and he failed, failed and failed again. His best result was a simple Retire, Shaken. Most of the rest just disappeared. This meant his right flank simply collapsed.
 |
| Snork! |
 |
| Double Snork! |
On the right I used 4 pips (leaving just 1) to charge whatever was in range. All managed to get is and miraculously they all managed to cause mayhem. As with the left flank, Ian's units disappeared - of course he helped the situation by rolling three 20's on the bounce! This caused further morale checks across the piece and Ian's left flank also collapsed. With just 1 pip left on the board, we'd done it!
 |
| Ian's left collapses |
 |
| The damage - 18 units lost, 13 in one bound! |
 |
| I like to cut it close! |
A great battle. The idea of limited pips does appeal as it stops a lot of the jiggery pokery and forces you to act. I do think it would be a great 3 way battle and would definitely want to try it again. Thanks to Ian for a great day - loads of fun!


No comments:
Post a Comment